If you have always wondered what the best option to cut a ceramic tile is, a wet saw would be your answer. More importantly, a tile saw or a masonry saw. Today, and after very comprehensive research and experiments, I can finally recommend a tile saw as your best shot in case you are looking at the best option to clip that ceramic tile and fix it with a seamless touch on your floor. Tools Adventure has a buying guide of wet tile saw, you can have a look.
The reasons why I recommend a tile saw are very simple. I have included some of them here for a quick understanding.
For starters, a masonry saw will have limits to the size of tiles that it might be able to cut. And these are often smaller and thinner ceramic tiles. However, a tile wet saw cuts all the ceramic tiles including larger and thicker tiles.
Tile wet saws also come with diamond crystals that is captured in a metal matrix. This diamond scratches very tiny particles to leave the tiles with very smooth cuts and typically no chipping at the end of the cut.
The blades to the tile saws are also kept from overheating by the water which is always pumped over the spinning blade. The water regulates temperatures, prevents chipping, and allows for the most controlled cuts.
Additionally, and contrary to a masonry saw where you have to slide the blade, the tile saw comes with a sliding table. This means that the tile is what moves and not the saw. This is very ideal as it helps you to get the best view and a straight cut when sliding the tile.
Finally, using a tile wet saw means that you will only require moderate pressure to get the perfect cut as the cut comes along the grain. The same cannot be said of a masonry saw where you have to push the saw against a stationary tile.
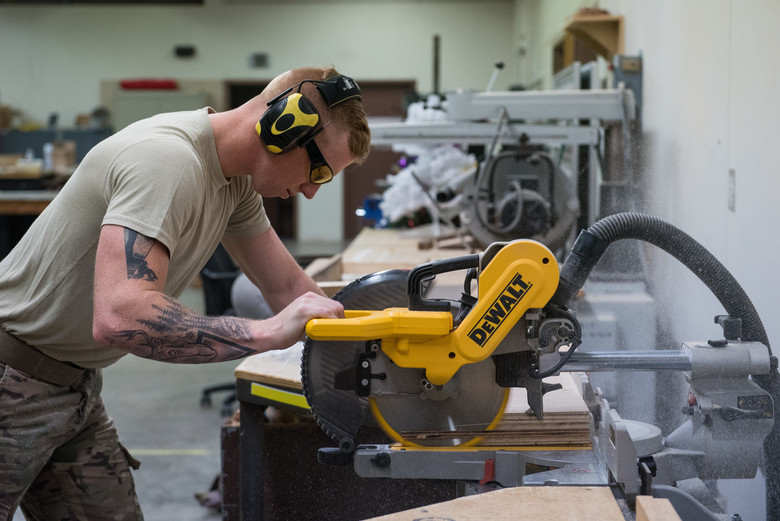
Since I have recommended the one tool that I trust for this job (tile saw) let me give you a sneak peek on how to use the saw to cut your ceramic tiles. This saw will give you an easy time and also do the job pretty fast.
Your wet saw comes with a general-purpose diamond blade. This might not be really ideal for the job at hand. It is very important that you buy a diamond blade that’s specified for ceramic. Find your blade at the local hardware.
The most important aspect of setting up a tile saw for cutting ceramic is to make sure that you mount the diamond blade in the right way. Follow the manufacturer’s instructions and make sure that the blade fits as recommended.
Additionally, you should also make sure that you fill up the water tank with water and set it in such a way that the water will easily flow over the blade. This should be done by turning on the pump.
Doing a dry layout for the ceramic tiles that you are going to use is very important. It allows you to take the right measurements and also understand the exact places where you need to actually cut the tiles within.
Protective gears like you might have learned are pretty good at making sure that you stay away from any harm when using your best wet saw on those ceramic tiles. The most recommended protective gears include hand gloves, eye protection glasses, and overalls or dust coats.
Take the tile that you have marked and place it in front of the blade. Make sure that the cutting mark that you had previously placed is aligned with the wet saw’s blade. Use the tile saw’s stationary head along with the table that slides into the blade to align for a smooth and perfect cut along the mark.
Now slowly slide the main table on which the ceramic tile is held to get your tile cut into the piece that you need. Here are a few tips that will help to get the best cut.
With the following tips that I have given you in this post, I can guarantee the best cuts on any of your ceramic tiles. The tile saw as we have seen is easy to use and has some of the best advantages over masonry saw.
Like you will find out, ceramic floor tiles are extremely popular – and have been for so many years. They are loved for their stylish touch, durability, and unique designs. And apart from these, ceramic tiles are also quite affordable, low maintenance, and easy to install so long as you’ve got the right equipment.
So once you know how to cut your ceramic floor tiles with the right saw, then it all boils down to how you use your spacers to fix your tiles on the floor. It is simple, easy, and more importantly, quite an enjoyable experience too.
