It goes without saying that a cordless drill is undoubtedly one of the most convenient power tools you can have in your set of tools. As a matter of fact, you’ll find yourself using it quite often be it in your workshop for complex tasks such as trilling through wood or for simple tasks for when you want to set up your curtains.
In some cases, the problem might be with your battery and in others, it might be with the working of the cordless drill itself. In most cases, however, the problem is with the electric charger. Since DIY maintenance is the preferred way to go by most, we’ve got a 5-step process that’ll enable you to do this best.
Let’s find out how you can best verify the working of your cordless drill charger.
On to the main agenda, it’s time to see how you should go about when you want to have your cordless drill charger working as it is supposed to. Simply get your hands on the best multimeter, go ahead and follow these simple steps and you’ll be good to go.
There is no way you would be able to fix your battery charger if you didn’t know what the problem really is, right? This being the case, you will, first of all, want to be sure with exactly what you are dealing with. In most scenarios, the charger may be pumping out much less power than expected of it.
So, to take the measurements, first of all, have the voltage rating of your battery in mind (for example 12v) and of course, the voltage rating of the battery charger should be larger than this (about 15v).
In order to know whether the battery is faulty, here’s what you should do with your multimeter:
Now that it’s already established that your charger does have a problem, you’ll want to find a new power supply for it. If you don’t know what you’re doing, this can be quite risky.
So, if the original power supply was rated ad 15 volts and 300mA, you will want to get another that is close enough to this such that it is not overpowered. A new ideal power supply should be rated at 15V and 400mA. The closer it is to the previous power supply, the better off of a match it is.
This should be quite simple. Basically, cut the wires of the old power supply and then attach the new ones to them. Before you make it more permanent, however, you should run a couple of tests in order to ensure the performance is at its best.
So as to ensure its working perfectly well, it should charge up the battery as fast as the original charger did or much faster than it. You should, however, be careful not to overcharge and damage the battery if the alternate power supply is rated much higher than the original one.
After ensuring that the new power supply works as expected, the next thing you’ll want to do is set it up permanently. You’ll need to have a soldering gun for this whereby the connection points of the new power supply should be soldered permanently on to the connection points.
You could also add a pull-stop in order to ensure the connection cord doesn’t come out of the circuit board while you use the charger.
Reassembling the cordless drill charger should be quite easy, all you have to do is have the wiring and motherboard placed accordingly in the motherboard, tighten the screws and you’ll be good to go.
Once you have put the battery charger back together, go ahead and charge up your battery till it’s full. After this, take your multimeter and with the red probe at the positive terminal and the black one at the negative terminal, test the voltage reading. If the power rating of the new supply is higher, you should charge the battery for less time. The voltage reading should be as the battery is rated or slightly above it.
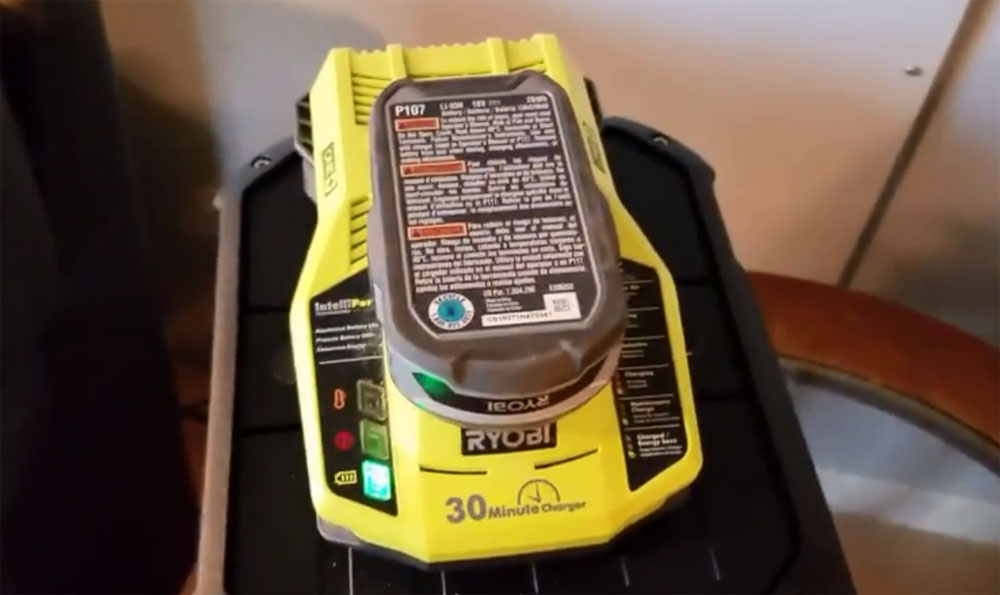
For the completion test, the light on the charger should come on once you plug in the battery to charge it
Besides the above steps that you ought to pay heed to when fixing your battery charger, there are other things you could do just to ensure it’s in perfect shape.
Rather than going ahead to get a new charger, you could first of all check whether the problem is with the power outlets. This can be done in 3 different ways. First, you could pay heed to any indicators such as sounds or light on the charger.
Secondly, go ahead and plug in a different charger into the power outlet or any other electrical device to see whether it is working correctly.
Third, you could plug in your charger into another power outlet and see whether it functions as needed.
It’s not always the case that the problem is with your charger. At times, your battery could also be the problem. This can be determined by either trying to charge another battery with your charger or alternatively, getting to charge your battery with another charger. This way, you’ll know whether you need to change the battery or the battery charger of your cordless drill.
In some cases, the problem may not be with the electrical system of the charger. As such, you should check whether any parts could be broken. Check the prongs to ensure they’re not bent. Check any metallic parts for presence or rust and corrosion and clean them out if necessary.
In the event that it may have come into contact with a liquid, there is a possibility of there being a short inside in which case it will need a repair.
This should be the last thing you’ll want to do since it could damage a charger that is already working. In some cases, the contact points could be a problem in which case you should clean them up. You can also go ahead and clean the metal strips which connect to the battery with a cotton swab soaked with alcohol.
In case of rust and corrosion, basically, use an emery board to remove these. Once you are done cleaning the charger, you should allow it to settle down for a while before you plug it in and test it out on your cordless drill’s battery.
Final Verdict
I’m pretty sure that it is now much easier to have your battery charger in the best possible shape. It’s all about having the perfect troubleshooting tools, utmost precision and following the steps mentioned above to know where the problem is and get the charger working again.


