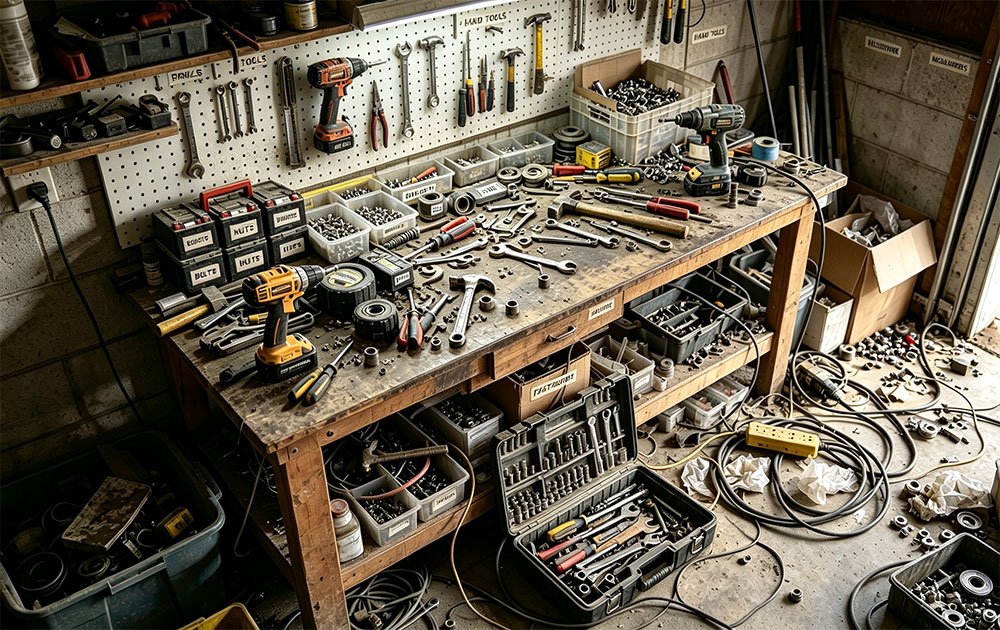
Look, I’m just going to say it—most of us have terrible tool organization. I’ve been there. You buy quality tools, spend good money on them, and then toss everything into whatever drawer or box is closest. Fast forward six months and you’re digging through three different toolboxes looking for that one specific driver bit while a client’s waiting.
The numbers don’t lie. Studies show the average tradesperson wastes around 15 minutes per day just hunting for tools. That’s an hour and fifteen minutes per week. Over a year? We’re talking about two full work weeks spent searching instead of working. And that’s not even counting the frustration, the duplicate purchases because you “couldn’t find” something you already owned, or the damaged tools from poor storage.
Here’s the thing—a proper storage system isn’t about being neat for the sake of being neat. It’s about protecting your investment, working faster, and honestly, looking like you know what you’re doing.
## The Mistakes Everyone Makes
Before we get into solutions, let’s talk about what doesn’t work. Because I’ve tried all of these.
**”I’ll just get a bigger toolbox”**
This was my first move. Workshop getting messy? Buy a bigger box. Truck bed overflowing? Get another bin. The problem is that more space without organization just means more places to lose stuff. You end up with the same chaos, just spread across more containers.
**”I know where everything is”**
Maybe you do. Today. But what about when you’re tired at the end of a long job? Or when someone else needs to grab something from your truck? I used to think I had a mental map of my tools. Then I’d spend twenty minutes looking for channel locks that were “right there.” Memory-based systems fall apart under pressure.
**”I have too many tools to organize”**
Yeah, me too. But that’s exactly why you need a system. The more tools you have, the more critical organization becomes. You don’t need to tackle everything at once—start with your daily drivers and build from there.
## What Actually Works
After years of trial and error (heavy on the error), here’s what I’ve found makes a real difference.
### Start With Zones
First step: group your tools logically. I organize mine three ways depending on what I’m working on.
Frequency matters most. Your everyday tools—the stuff you grab multiple times per job—need to be the most accessible. That’s your prime real estate. Then come the weekly tools, and finally the stuff you use occasionally but need when you need it.
Tool type is obvious but still worth thinking through. Power tools in one area, hand tools in another, measuring and marking tools together. Fasteners and hardware get their own space because mixing those is asking for trouble.
Job-based grouping is something I picked up from a commercial electrician I worked with. He’d have entire kits pre-assembled for common tasks. Outlet installation kit, fixture hanging kit, panel work kit. Sounds like overkill until you realize he’s not making five trips to the truck per job.
### Make It Visual
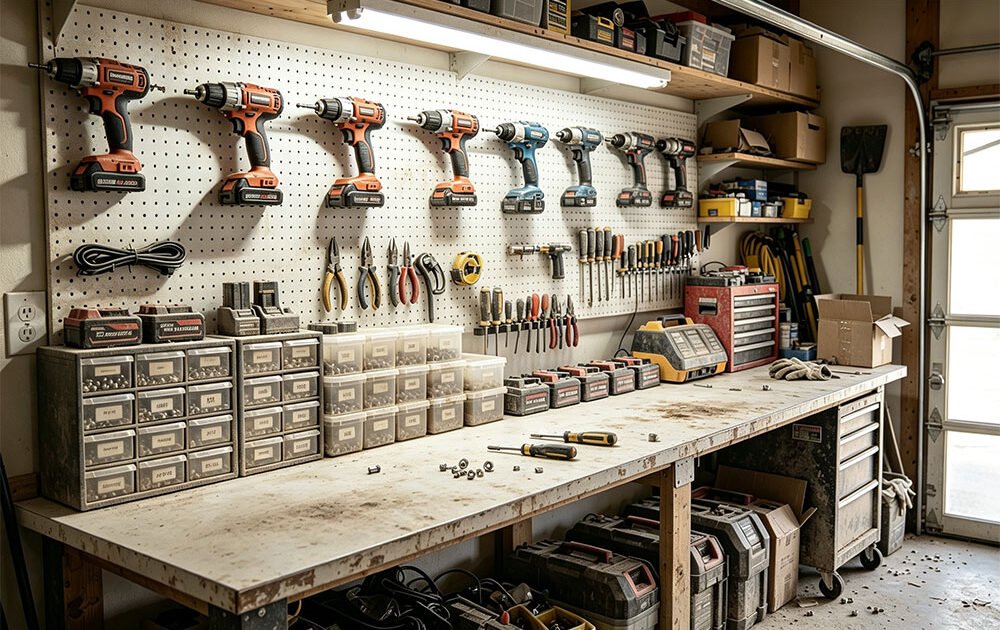
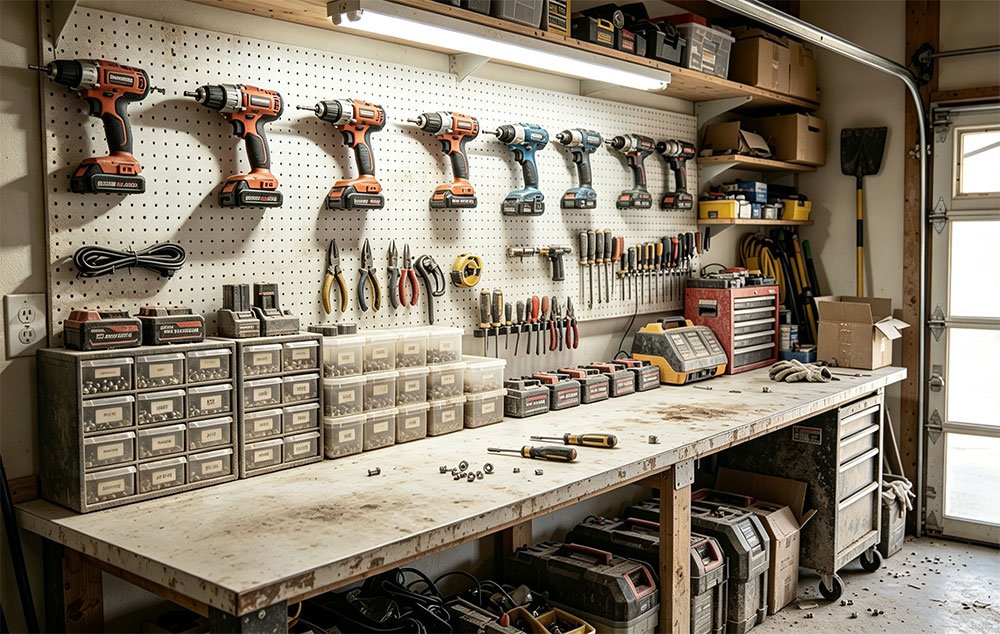
Shadow boards changed my workshop. Seriously. You trace the outline of each tool on a pegboard or foam insert, and suddenly you can see at a glance what’s missing. No more “did I leave that at the last job site?” panic at 6am.
The clear vs opaque storage debate is real. Clear bins cost more, but being able to see what’s inside without opening every container saves time. That said, I use opaque for things that need UV protection or tools I access less frequently.
Wall mounting vs drawers depends on your space and work style. Pegboards are great for tools you use constantly—everything’s visible and accessible. Drawers work better for smaller items and keep things cleaner in dusty environments.
### Label Everything (And Make Those Labels Last)
This is where most DIY organization systems fall apart. You can have the perfect layout, but if you can’t identify things quickly, you’re still wasting time.
Tool identification starts with the basics. I mark purchase dates, owner info if you work with a crew, and asset numbers if you’re tracking things for business purposes. Sounds tedious, but when you’re trying to remember if that drill is still under warranty, you’ll thank yourself.
Location marking ties into the visual system. Label your toolbox sections, mark your pegboard zones, tag your drawer dividers. The goal is that even someone unfamiliar with your setup can find things and put them back correctly.
Accessory pairing is huge for cordless tool systems. I number my batteries and mark which chargers go with which tools. When you’ve got multiple battery platforms (yeah, I know, pick one brand—but we all end up with a few), this prevents the “wait, is this a 12V or 20V?” moment.
Maintenance tracking keeps you out of trouble. Calibration dates on measuring tools, service intervals for equipment, last inspection dates. Put it right on the tool where you’ll actually see it.
Now here’s where it gets practical. Most labels you can make at home won’t survive a real work environment. I spent a weekend organizing my shop a couple years back, printed nice labels on my office printer, felt very accomplished. Three months later half of them were illegible from oil and dust, and the ones on tools I actually used were mostly peeled off.
Tried hand-written tags next. Those lasted longer but looked unprofessional, and anything exposed to sun or chemicals faded fast. Eventually bit the bullet and ordered proper industrial labels—ended up using Yateli labels after checking what material specs I actually needed for shop conditions. Those same labels are still perfectly readable two years later. No peeling, no fading, still stuck solid despite solvents and temperature swings in an unheated garage.
Point is, if you’re going to invest time in organizing, use labels that’ll actually last. Otherwise you’re just doing it again next year.
### Think Modular
Tool storage systems have gotten really good in the past decade. Milwaukee’s PACKOUT, DeWalt’s TSTAK, Makita’s MAKPAC—they all let you build customized setups that adapt as your needs change.
The benefit isn’t just that they stack nicely. It’s that you can configure your loadout for specific jobs. Going to do trim work? Grab these three modules. Service call? Different three modules. Everything else stays organized back at the shop.
DIY modular works too if you’re on a budget. I’ve seen guys do amazing things with plywood, foam, and some thoughtful measuring. Won’t be as pretty as the brand-name stuff, but function matters more than looks.
### Actually Maintain It
This is the part everyone skips. You can’t set up a system once and expect it to stay organized. You need habits.
End-of-day routine: everything goes back where it belongs. Not “I’ll deal with it tomorrow.” Not “close enough.” Back in its spot. Five minutes now saves twenty minutes of searching later.
Weekly cleaning makes a difference. Wipe down your toolboxes, vacuum out your drawers, check that labels are still secure. Catch small problems before they become big ones.
Monthly inventory is worth it if you work professionally. Just walk through your system and note what’s missing, what’s damaged, what needs replacing. Beats discovering your backup blade is broken when you need it.
## Different Setups for Different Work
What works in a fixed workshop won’t work in a service van, and vice versa. Adapt to your reality.
**Mobile Professionals**
If you work out of a vehicle, accessibility and security are everything. Install proper racks or shelving—don’t just pile bins in there. Everything needs to be secured so it’s not sliding around or becoming a projectile in an accident.
Quick-pack systems are your friend. Have a go-bag or core kit that covers 80% of calls, then add specialized tools as needed. Time spent loading the van is time you’re not billing.
Theft prevention matters more than people think. Lock boxes for expensive items, keep receipts and serial numbers documented, maybe even GPS trackers on high-value tools. Tools walking off job sites adds up fast.
**Fixed Workshop**
This is where you can really dial things in. Wall space is valuable—use it. A well-planned pegboard setup is worth its weight in gold.
Your workbench periphery should have the tools you use most within arm’s reach. Step back and actually think about your workflow. What do you grab constantly? That should be closest.
Large equipment placement affects everything else. Mill, table saw, compressor—wherever these end up determines your traffic flow and available wall space. Plan the big stuff first, fill in around it.
**Home DIY Users**
Limited space requires creativity. Fold-down workbenches, pegboard on the back of doors, rolling carts that tuck away—there are solutions.
Multi-purpose is key. That rolling cart can be tool storage, assembly table, and paint station. Drawer organizers from the kitchen section work great for small parts. Think beyond “official” tool storage products.
## Making It Happen: A Realistic Timeline
Don’t try to do everything in one weekend. You’ll burn out and end up with a half-finished system that’s worse than what you started with.
**Week One: Take Stock**
Pull everything out. Yes, everything. You can’t organize what you can’t see. Sort into categories. Be honest about what you actually use vs what’s just taking up space. Sell or donate the excess—someone else can use it, and you’ll have less to organize.
**Week Two: Plan and Acquire**
Measure your space. Sketch out a layout. Figure out what storage components you actually need. Buy once, buy right. Cheap organizers fall apart and you’ll replace them anyway.
Order labels and marking supplies. If you’re going industrial-grade labels, order them now so they’re here when you need them.
**Week Three: Build It**
Install pegboards, assemble shelving, set up drawers. This is the physical work part. Take your time and do it right. A level pegboard works way better than one hung crooked.
Label as you go. Don’t leave it for later. If it’s not labeled now, it probably won’t be.
**Week Four: Use It and Adjust**
First week with any new system shows you what works and what doesn’t. Maybe that one box needs to move closer. Maybe you need another hook there. Make adjustments. The goal is a system that actually functions for how you work.
## Worth It or Not?
Let’s talk money and time because that’s what matters.
Time savings are immediate. Finding tools faster, not losing things, not buying duplicates—it adds up. That 15 minutes per day I mentioned earlier? At a $50/hour billing rate, that’s over $1,500 per year. For organizing your tools.
Tool longevity improves when things aren’t banging around loose or buried under other stuff. Cutting edges stay sharp, calibration holds longer, batteries don’t get damaged. Your tools last longer and work better.
Safety incidents drop. You’re not leaving tools where someone can trip over them. Nothing falls off shelves onto your head. Sharp tools are properly stored. Might sound minor until you’ve dealt with an injury.
Professional image matters more than people admit. Show up to a job site with an organized, clearly labeled setup and clients notice. Looks like you know what you’re doing because you do.
## Bottom Line
You don’t need a perfect system. You need a working system. Start with your 20 most-used tools. Get those organized and labeled properly. Build out from there as time and budget allow.
The key is labels that last and a layout that makes sense for how you actually work. Everything else is details.
Will you stick with it? That’s up to you. But I can tell you from experience—once you’re not spending ten minutes per day searching for stuff, you won’t want to go back to chaos. The time savings alone make it worth it, never mind the reduced stress and looking like a professional instead of a disorganized hack.
Start this weekend. Pull out your most-used tools and figure out how to store them properly. Everything else can wait.