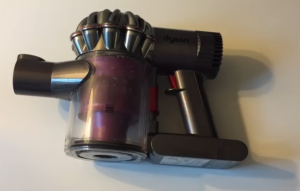
The need for replacement batteries increases daily with the presence of essential technologies like the Dyson DC59 Animal Cordless Vacuum. However, one of the major problems you could face is removing the available battery.

Dyson DC59 battery removal is straightforward and requires very easy steps. The first is locating the battery, the terminals, and using the right tools to move the battery. Note that the battery on the initial Dyson DC59 battery lasts for 20 minutes and there are logical steps to removing the cells.
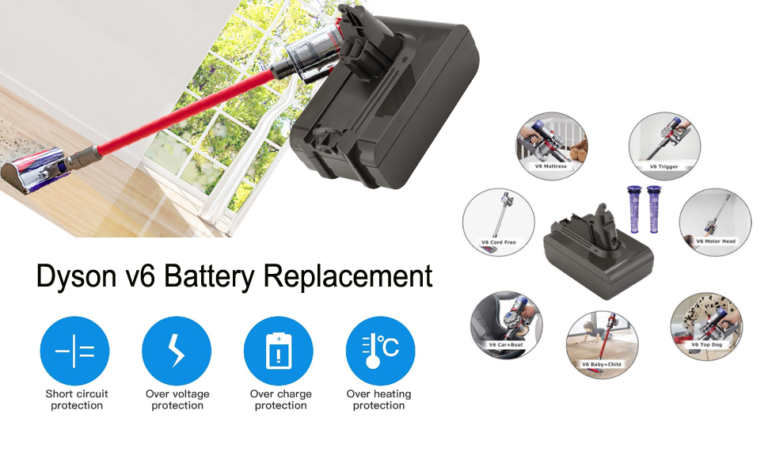
The Dyson DC59 battery is compatible with V6 DC58 DC59 DC61 DC72 DC74 Absolute Animal Motorhead Slim SV03 SV04 SV05 SV06 SV07 SV09. This article provides all essential details about the Dyson DC59 battery and the steps to remove it.
How to take Down Dyson V6 DC59 Battery
The Dyson V6 batterycomes with impressive technical specifications. However, it’s important to take down the cells when they aren’t functioning appropriately. Various signs will help you know when it’s time to remove your Dyson V6 DC59.
One of the best ways to know the right period for Dyson DC59 battery removal is the flashing of red light. Typically, when the machine has over 12 lights flashing simultaneously, then there’s a need for replacement. Besides, a Dyson V6 DC59 has a life span of 4 years. However, the battery significantly wears off around the first year.
Note that the steps to taking down the Dyson V6 DC59 battery are basic and don’t require any technical processes. However, it’s important to ensure that your Dyson battery is genuine. If you don’t use an appropriate battery after taking the previous one down, you may have problems with the overall functioning of the machine.
Video of Dyson v6 DC59 battery removal
Steps to Removing the Dyson V6 DC59 Battery
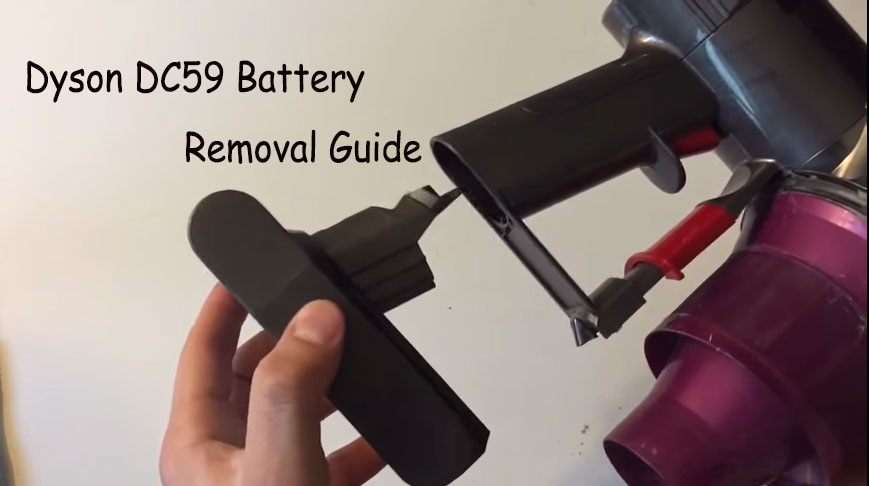
Here are the steps to the Dyson DC59 battery removal:
- Push down the appropriate button on the cylindrical body to open the canister over a garbage can: The importance of this step is to empty the content of the machine into the bin to avoid a mess.
- Hold down the same button and pull the canister by twisting to the right a little and pulling backward.
- Check for the two screws located on the opposite sides of the machine, both on black surfaces.
- Usually, the screws require a Phillips head screwdriver. So, ensure you get one for unscrewing the two opposite screws on the black surface.
- Remove the Dyson battery: In most cases, the cells come off immediately and they are unscrewed from the machine.

Note that the use of Phillip’s head is important for removing the screw from its fixed position on the Dyson. You can damage the screw if you use any other type of screwdriver, making it difficult to remove it appropriately.
Additionally, ensure that you don’t skip the first step to avoid creating a mess in the Dyson DC59 battery removal processes.
How to Replace Dyson V6 DC59 Battery
After the Dyson DC59 battery removal, the next essential step you may be considering is replacing the cells. Before replacing the battery, you should confirm the functioning of the cells. Some individuals may observe that their machine isn’t charging or functioning, which may be a significant sign of a replacement need.
Apart from the charging or functionality, several other pointers indicate the charging progress of a certain battery. For example, Dyson V6 has a certain expected run time after purchase, which is 16 minutes 40 seconds for low power and 6 minutes 26 seconds for max power.
If you observe that the runtime for the Dyson V6 DC59 is below expectations after purchase, the warranty may take care of the challenge. Some minor issues may not signify the need to replace your battery. One of them is the cutting out of the vacuum cleaner, which is significantly common and experienced by most individuals.
Video of replace DC59 battery on Dyson V6
Steps to Replacing Dyson DC59
Once you discover that your Dyson V6 DC59 battery has faults, you can take the following steps for the Dyson DC59 battery removal and battery replacement:
- Press down the release catch on the vacuum to open the bin: This step is also important in battery replacement because it prevents unnecessary dirt during the entire process of removal.
- Press down the catch to disconnect it appropriately from the cyclone: Don’t apply too much force to avoid breaking the plastic-like material.
- Check for the screw at the back of the vacuum and remove the screw from the handle: Remove the screw carefully with the appropriate screwdriver to avoid damaging the screw.
- Place the machine on a relatively soft surface and remove the under the battery, towards its edge.
- Open up the new battery and fit it into the handle, ensuring that it stays in place: You’ll know that the battery fits properly when you hear the clicking sound.
- Ensure you make use of the provided screws in the Dyson DC59 vacuum.
- Refit the bin by locating the tab on the front of the cyclone.
- Ensure that the recess is in the bin inlet of the machine.
Note that if the screw is damaged due to the use of an improper screwdriver, there are certain ways to go about making appropriate repairs. Interestingly, you can follow the common steps for unscrewing a broken screw.
Make use of an extractor by attaching its bit firmly to the T-handle. Position the extractor bit into the pilot hole of the bad screw. With a hammer, tap the extractor properly into the pilot hole. Ensure that you apply enough downward pressure on the extractor while turning clockwise to remove the bad screw.
Conclusion
The steps to the Dyson DC59 battery removal are straightforward. It requires a certain level of care to avoid making mistakes or missing a step.
If your Dyson DC59 has a noticeably bad performance time, you should consider a replacement. Ensure that you also purchase a genuine replacement battery to avoid further damage. It’s advisable to troubleshoot the battery pack before purchasing for the best experience.

![Dyson V7 Replacement Battery of Uniqueness and Wonders [Durability and Better]](https://www.powertoollab.com/wp-content/uploads/2019/11/THE-BEST-DYSON-V7-REPLACEMENT-BATTERY-768x384.jpg)
![Easy Way To Do Dyson V10 Battery Replacement [The Problem and Truth]](https://www.powertoollab.com/wp-content/uploads/2019/11/Dyson-V10-battery-replacement-768x443.jpg)
